Producing a new design here follows this basic outline:
- Sketching ideas.
- Drafting the best idea from the sketches.
- Making a pattern from the draft.
- Prototyping the pattern.
- Crafting the final design.
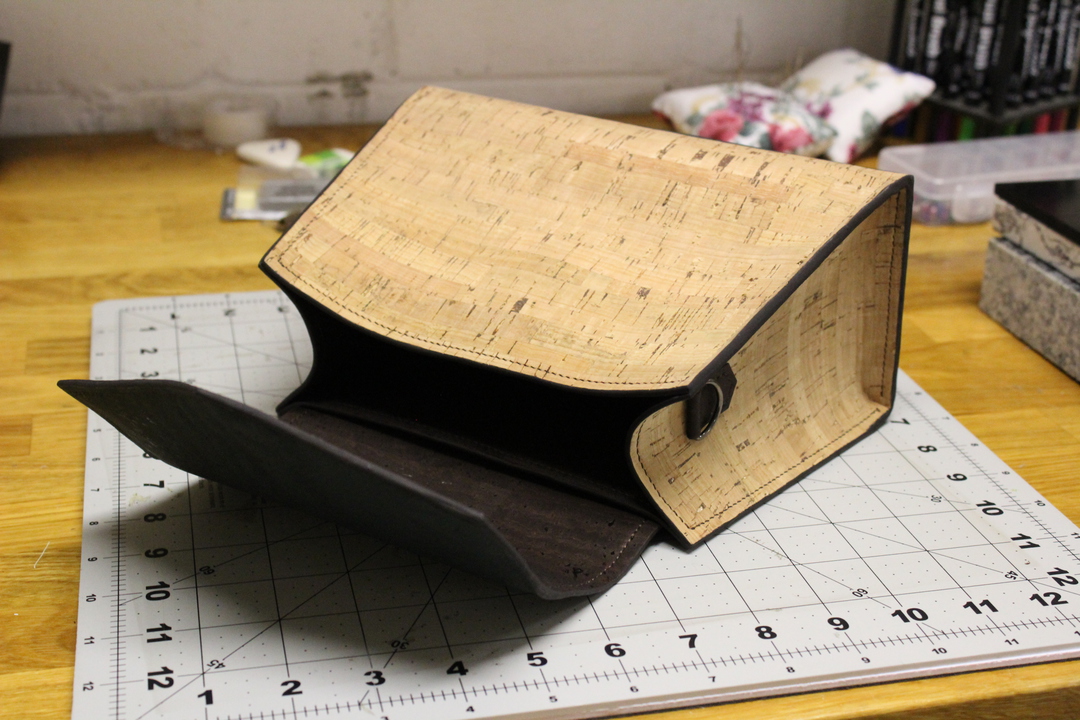
This is the process I followed to create my first-ever handbag. It’s a crossbody style with top flap and magnetic closure, made from cork fabric, and fashioned only with hand tools.
Sketching
The first step is sketching out some ideas.
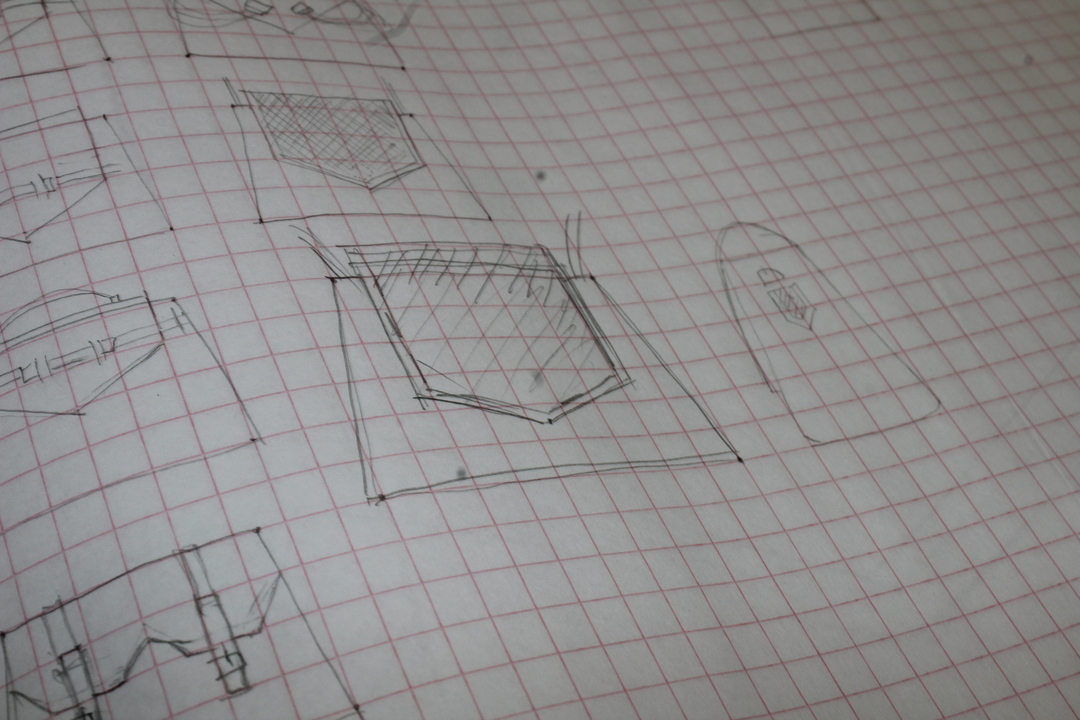
Typically I start with a silhouette and then start messing around with the details, in this case those were things like straps and closures. The trapezoid shape was established in the very first sketch of the project, all the other ones are variations on the theme. The color contrast between the top flap and main body was present early on too.
Drafting
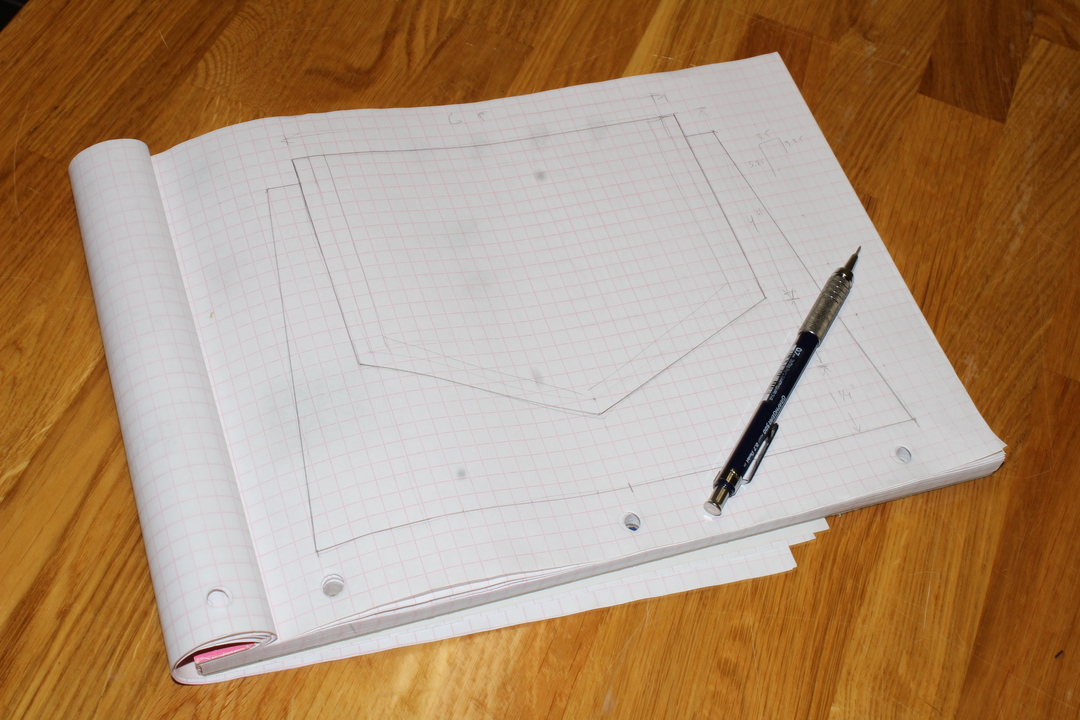
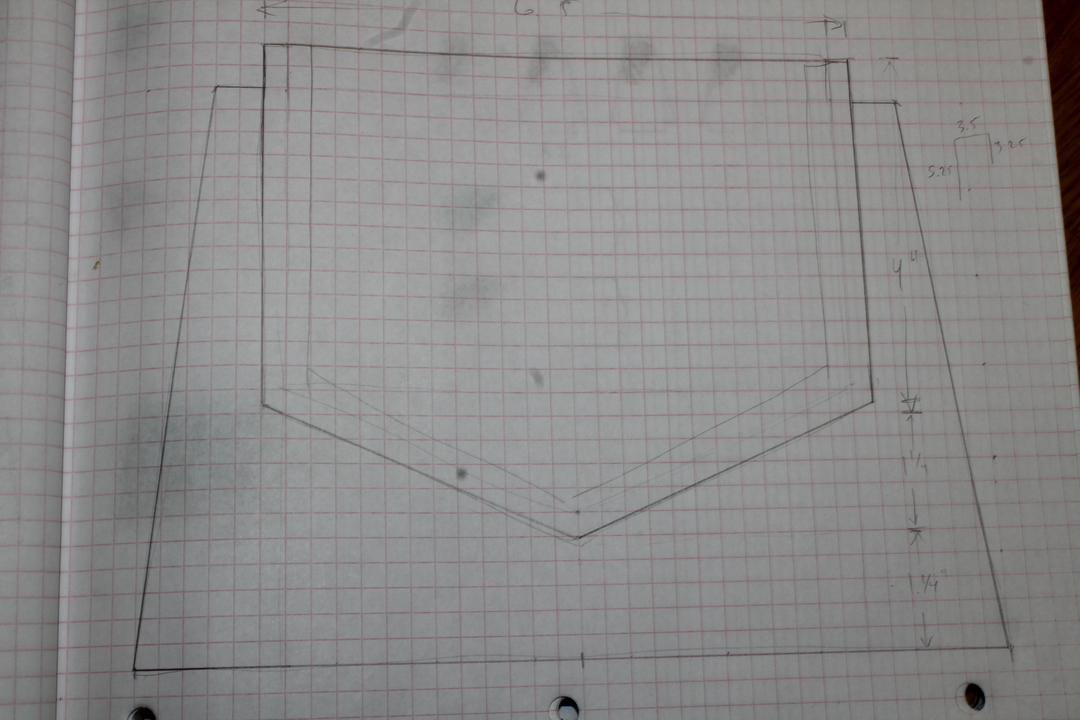
Once one of the sketches shows some promise I draft it with proper measurements. If possible I draw it actual size rather than to scale. The drafting process helps with settling on proportions and getting a sense for how big the final project will actually be.
Patterning
Patterns are made from the draft out of Kraft cardboard paper.
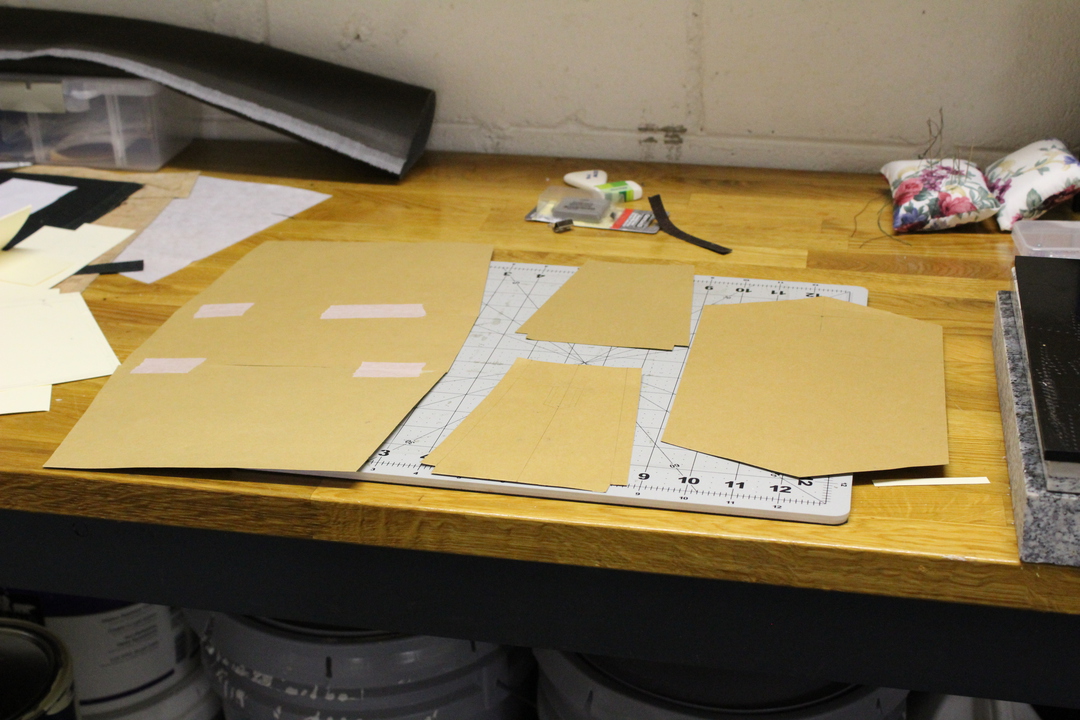
Patterns are traced onto other materials like foam or cork before pieces are cut from them. Paper patterns can be reused a couple times, but eventually they lose their shape or get too ragged to reliably trace from.
Pattern pieces can also be taped together for a very rough prototype, but to work out any flaws I make a foam model before committing to using quality (i.e. expensive) materials.
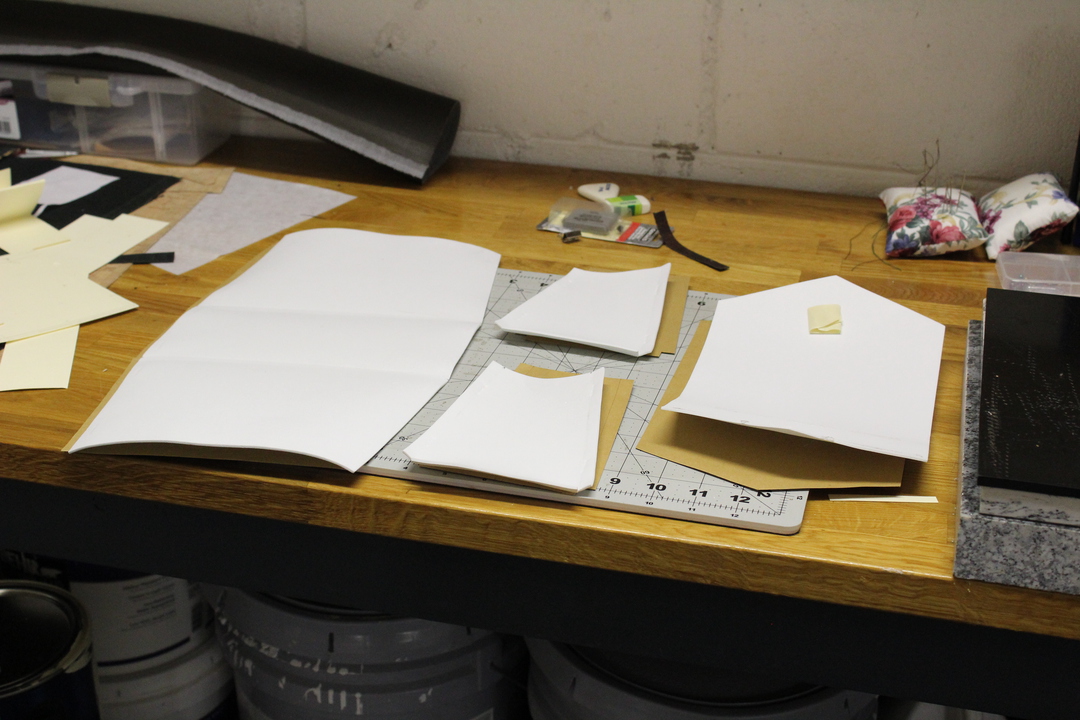
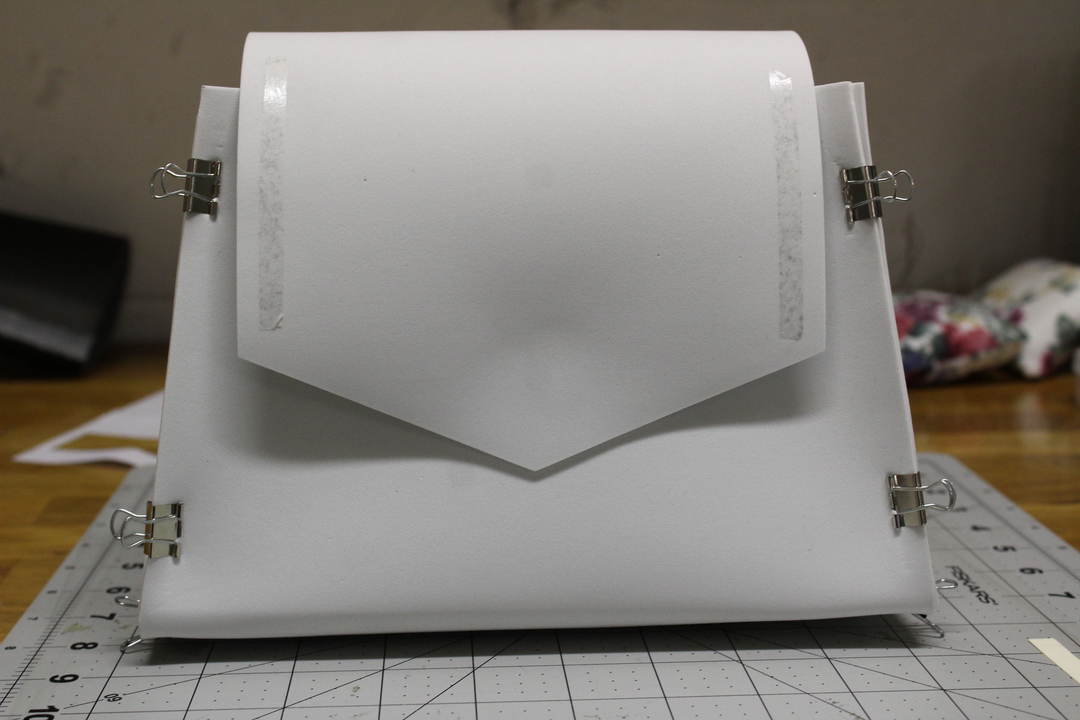
Prototyping
Making a prototype gives me a chance to fix any problems with the pattern before wasting materials. When I was making this bag I found out that the side panels were too tall, and I was able to fix the pattern before cutting out the cork for the final bag.
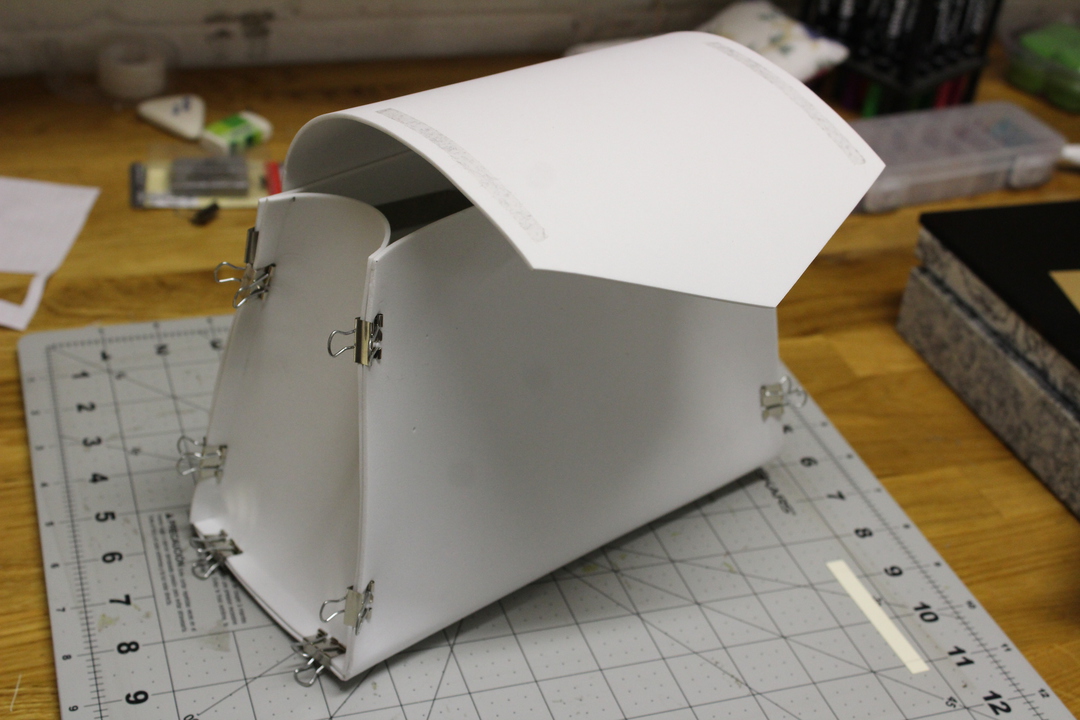
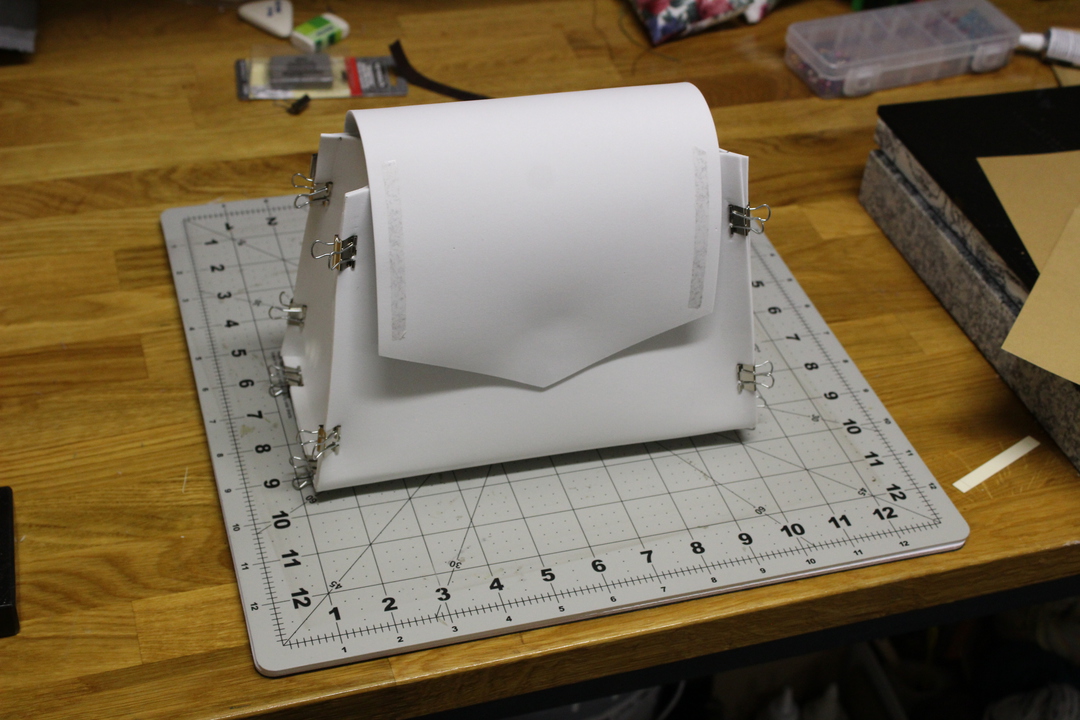
Foam prototypes allow me to tweak and retry things quickly. No waiting for glue to dry or intensive hand sewing, just clip the pieces together. Trim them if they don’t fit and try again.
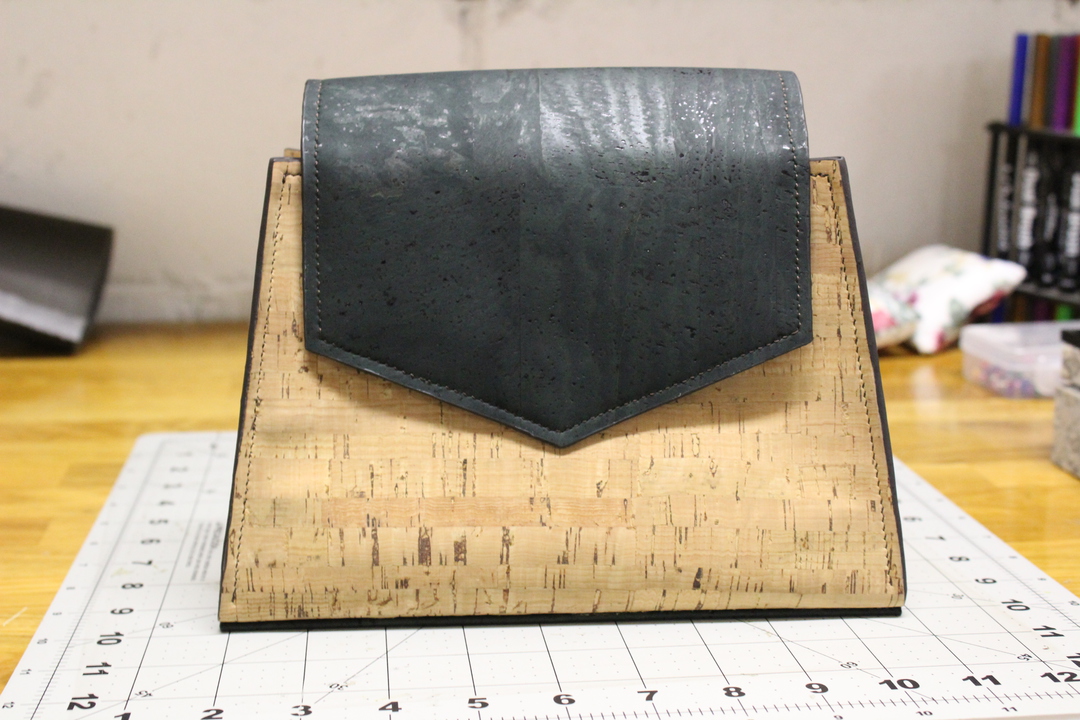
Crafting
Assembling the finished product can happen once the pattern has been finalized.
I use the pattern to cut out the cork pieces, glue them together, and sew them by hand. Then I finish the edges. I didn’t take any pictures of all that, but here it is on the bench after it has been completed.
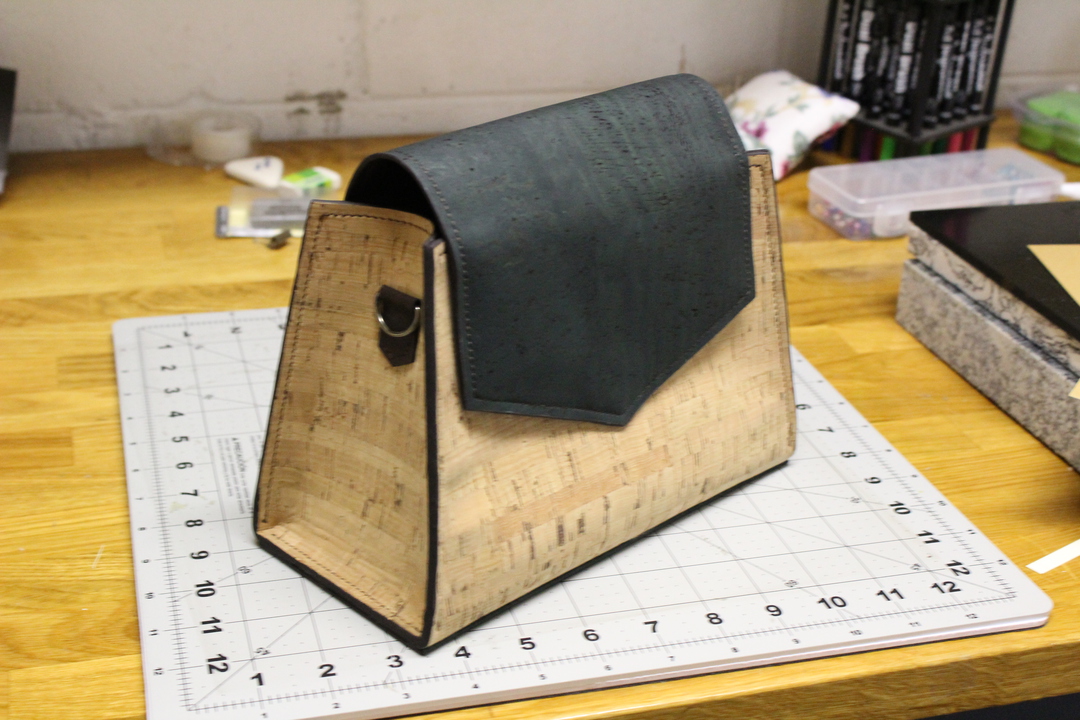
I’ll be sure to take pictures of the work in progress next time.
You probably noticed there aren’t any straps. Making a good one is a project in itself! If you need a strap to go with your bag, let me know and I’ll recommend some options.